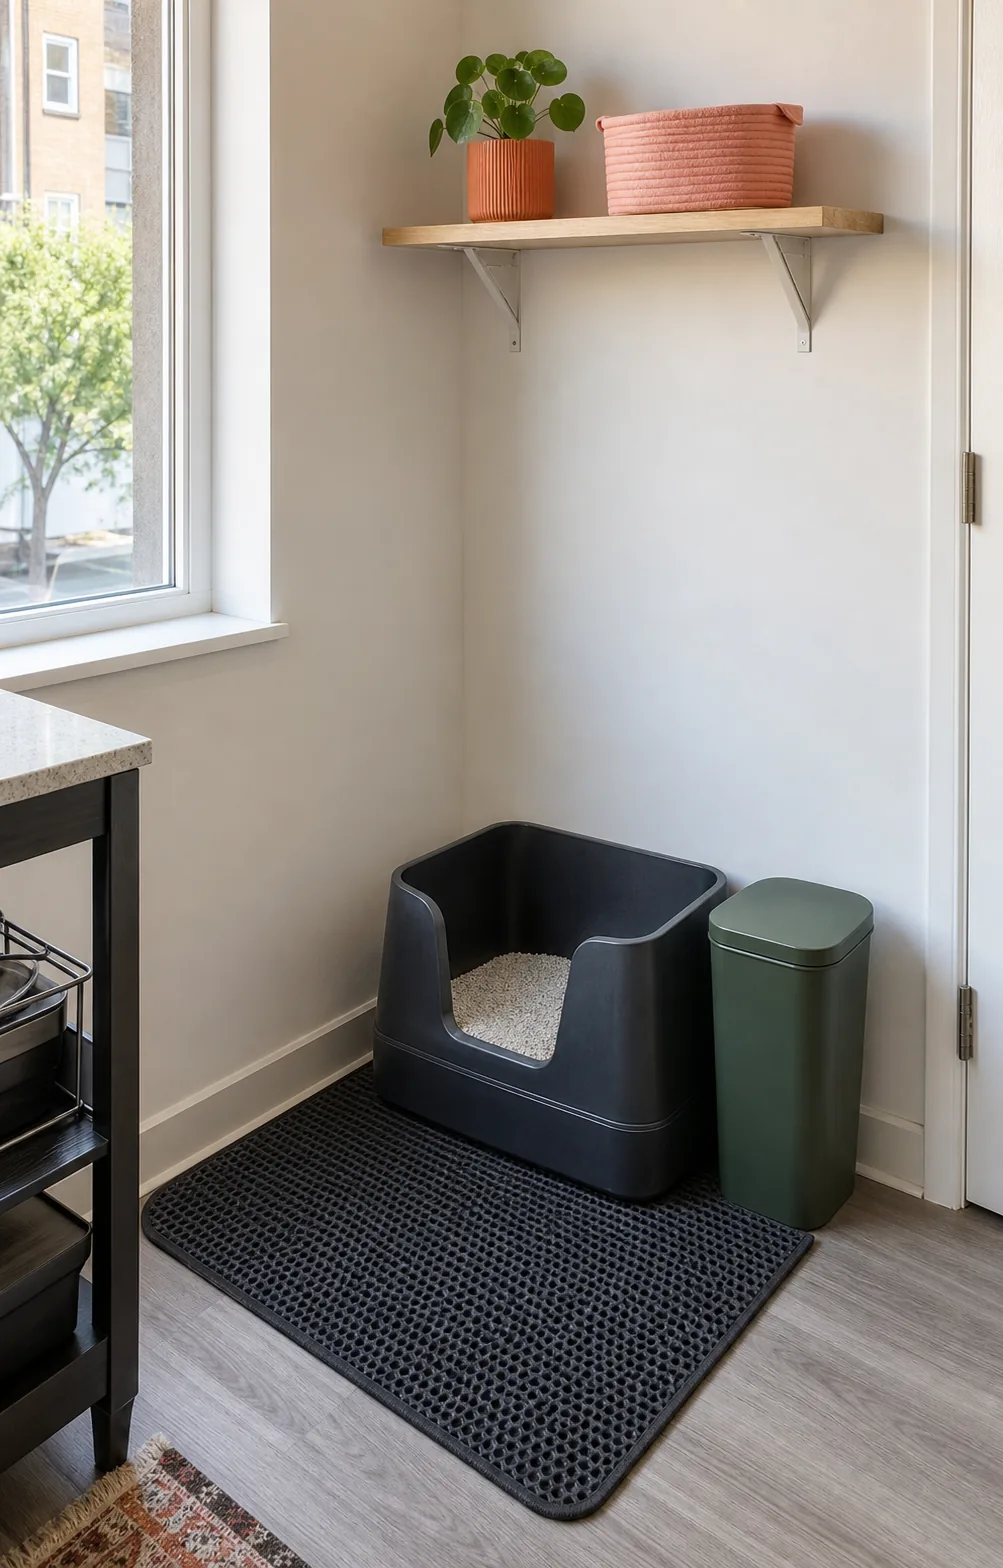
Published July 23, 2026
This guide treats litter furniture as a cabinet with an operating system inside it. The exterior dimensions must fit the room, but the interior, entry tunnel, door opening, ventilation path and tray-removal route determine whether the setup can be used and maintained. The method does not claim that an enclosure controls odor, tracking or stress. Those outcomes require evidence beyond a dimension sheet.
Evidence boundary: This guide provides planning and measurement logic. It is not veterinary advice, a behavioral diagnosis, or a hands-on product test.
1. Record three different rectangles
Measure the cabinet's exterior footprint for room fit, the clear interior floor for tray fit and the smallest service opening for installation and removal. These rectangles are rarely identical. Panels, hinges, magnetic catches, dividers and trim reduce the interior, while a front door can be narrower than the cavity behind it. A product listing that gives only exterior dimensions does not prove that a particular litter box fits inside.
For the litter tray, use exact external dimensions including lips, handles and projecting entry features. Measure the orientation required to pass it through the service opening. A tray that fits the interior after rotation may still be impossible to insert because the door, divider or room wall blocks that rotation. Mark every unknown instead of estimating from staged photographs.
- Exterior cabinet width × depth × height for room fit.
- Clear interior width × depth × height after hardware and dividers.
- Smallest service-door width × height.
- Cat-entry opening width, height and sill height.
- Exact tray exterior dimensions and removal orientation.
2. Align the cat entry with the tray entry
Draw a centerline through the cabinet's cat opening and extend it to the litter tray. Record whether a divider creates a turn and whether the tray wall faces the opening. The route should be described as a sequence of clear openings and turns, not as a single entrance measurement. A generous exterior cutout can lead to a narrow internal passage or a high tray wall immediately behind it.
Measure sill heights separately: floor to cabinet opening, cabinet floor thickness and cabinet floor to tray entrance. Do not add them blindly when the cat can step on an intermediate platform; instead sketch each surface and vertical change. Use current mobility observations and the entry-height guide, and seek veterinary advice for new or concerning mobility changes.
3. Keep ventilation and inspection visible
Record every permanent ventilation opening and make sure the proposed room placement does not press it against a wall, fabric panel or stored object. This is not a calculation of air quality and it does not prove odor performance. It simply prevents the layout from blocking features the furniture was designed to use. Manufacturer assembly and clearance instructions take priority when they specify spacing around vents or electrical components.
The interior should be inspectable without dismantling unrelated furniture. Open every service door and identify whether the floor, corners, seams and underside of the top panel can be seen and reached. A hidden area that cannot be checked is a maintenance constraint even if the tray fits. Moisture, odor or elimination changes are not problems to diagnose through a cabinet layout.
| Check | Required record | Blocker |
|---|---|---|
| Room fit | Exterior footprint plus open-door sweep | Cabinet blocks walkway, outlet, vent or another door |
| Interior fit | Clear cavity after hardware | Exact tray touches panels or cannot sit flat |
| Insertion route | Service opening and rotation space | Tray cannot enter or leave without dismantling |
| Cat route | Every opening, turn and sill | A critical opening or step is unsupported |
| Vent path | Opening location and room-side clearance | Designed opening is covered |
| Inspection | Visible and reachable surfaces | Interior cannot be routinely checked and cleaned |
4. Rehearse the dirtiest maintenance action
Do not validate only the empty-cabinet installation. Rehearse how the tray would be pulled out while kept level, where the door rests, where the mat moves and where a person stands. Use an empty cardboard model with the exact outer dimensions. Add the room wall and nearby furniture to the mock-up because they can prevent the rotation that looked possible in an isolated product diagram.
Count the number of parts removed for routine access and check whether each part has a clean temporary landing place. If a top panel carries household objects, moving those objects is part of every deep-cleaning cycle. A cabinet that hides the box but makes maintenance unreliable creates a workflow debt that should be shown in the decision, not dismissed as a minor inconvenience.
5. Verify structure and product claims separately
The layout can confirm dimensions and routes but cannot verify stability, material durability, load capacity, moisture resistance or odor control. Check those claims for the exact model and follow assembly and anti-tip instructions. In a rental, confirm whether required wall attachment is permitted; do not omit a manufacturer-required safety step merely to keep the setup no-drill.
Before purchase, save the exact model identifier, current dimensions and return terms in the product evidence record. Do not display a generic cabinet illustration in the named product-image position. If exact media rights and identity cannot be verified, keep the product card text-only while using the editorial room image only to explain the planning concept.